This colour management workflow can span the range from the creation of a camera profile when the image is captured – always including monitor calibration – to the profiling of the printer. The softproofing view can be used to simulate the influence of the selected paper and printer on the monitor. We have already captured all aspects of the colour management workflow on film in recent years. We summarise this trove of knowledge here once again.
Colour management & calibration
Colour management – the complete workflow
The goal of the colour management workflow is to have an unadulterated view of the image file at any point in the digital/graphic workflow.

Important steps in the correct colour management workflow

It’s important to be on the right page
Hardware and software calibration, profiling and other terms are sometimes used without knowing exactly what is really meant. To make sure everyone is on the right page, we will first clarify the most important terms.
To colour management workflow terminology
Goal: an accurate view of the image file
The file is always the central exchange medium in the colour-accurate workflow. Therefore it is vital that the retoucher always receives the image file in a completely unadulterated format. Unfortunately, many monitors are incorrectly configured, inaccurate or cannot display the required colour gamut at all. When working with colours, there is no getting around monitor adjustment.
Tips for monitor adjustment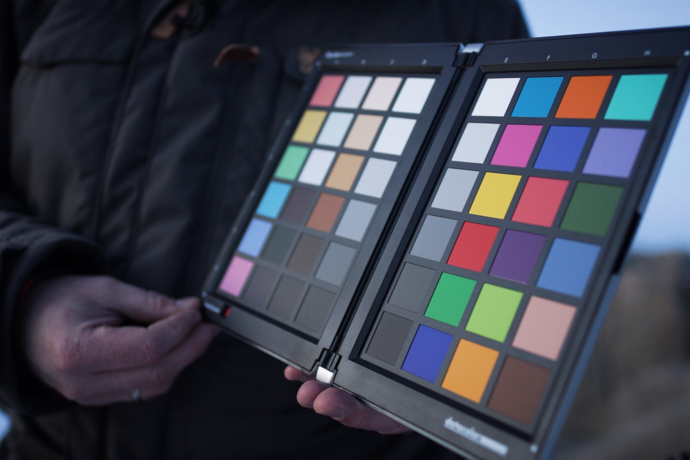
See what the camera has seen when using your computer
You should profile your camera if you want the image file to match the motif you photographed as closely as possible. To this end, you need to create a conversion profile, which makes it possible to create a *.raw conversion as exactly as possible. The image file will then correspond as much as possible to what the camera ‘saw’.
Read more about creating a camera profile here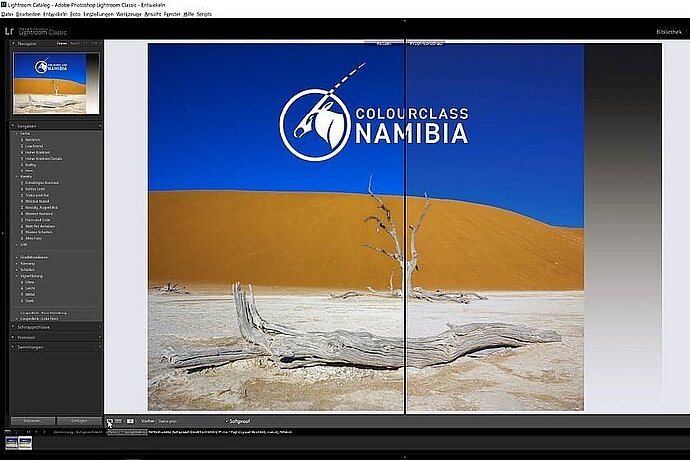
Simulating the final print
The print medium (paper) and the printer have a great influence on the appearance of the final print. This influence can be simulated on the monitor. You need ICC print profiles for this. This allows you to optimise your image file for the subsequent print and to check before printing whether the selected medium is suitable for achieving the desired image effect at all.
Read more about softproofing here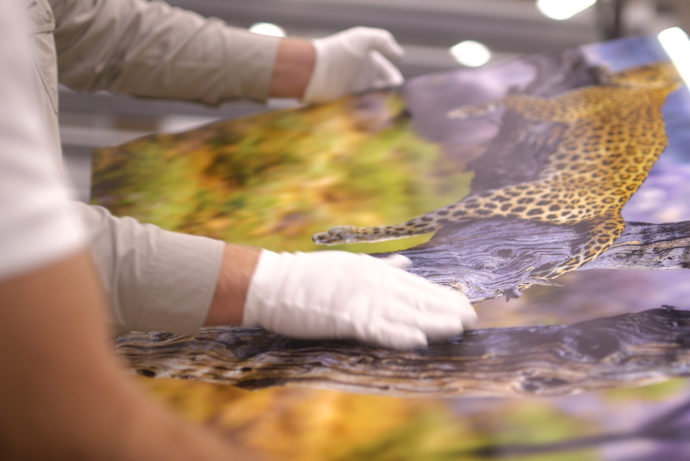
Creating optimal prints
Now that you have optimised your image (with the help of the softproofing view) for the last step of the workflow – printing – the data must be sent to the service provider or printer. A whole range of settings also need to be taken into account here for the print to actually look as you expect it to.
Read more about perfecting the printing process here